Providence® Orthosis Casting Procedure
Below are the casting instructions for the Providence® Nocturnal Scoliosis brace for orthotists.
Two Piece Plaster Only Casting
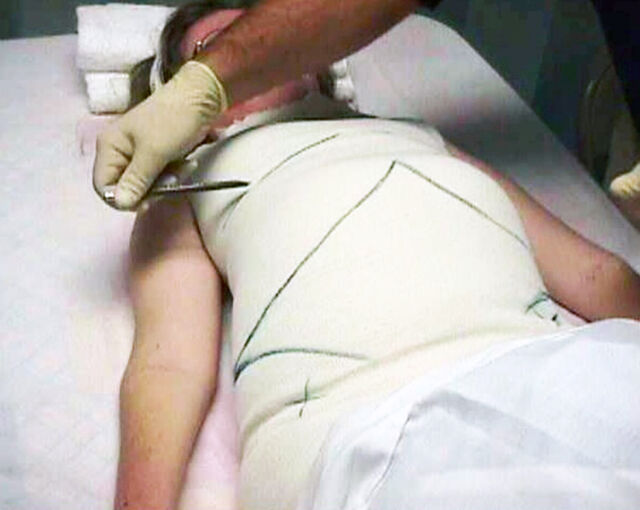
Step 1.
• Apply tight tube stockinette
• Mark ASIS, Costal Margin, Illiac Crest, Trochanters, Sternal notch with indelible marker
• Take measurements according to ST Scoliosis Form
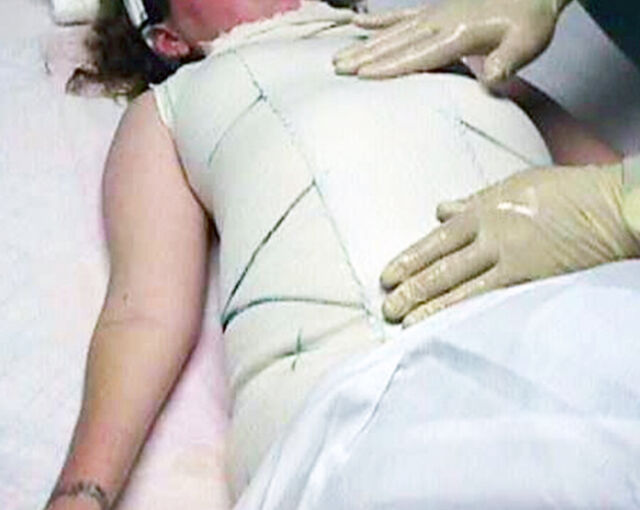
Step 2.
• Use 4 ply plaster splints vertically
• Cover all boney landmarks
• Extend past midline laterally
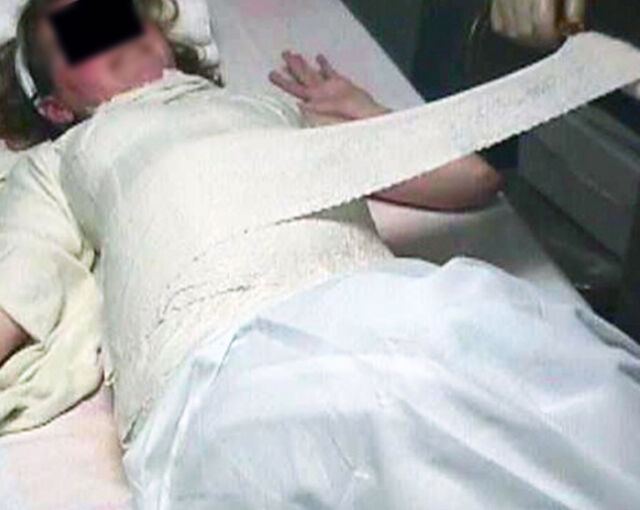
Step 3.
• Lock splints together with plaster roll applied horizontally
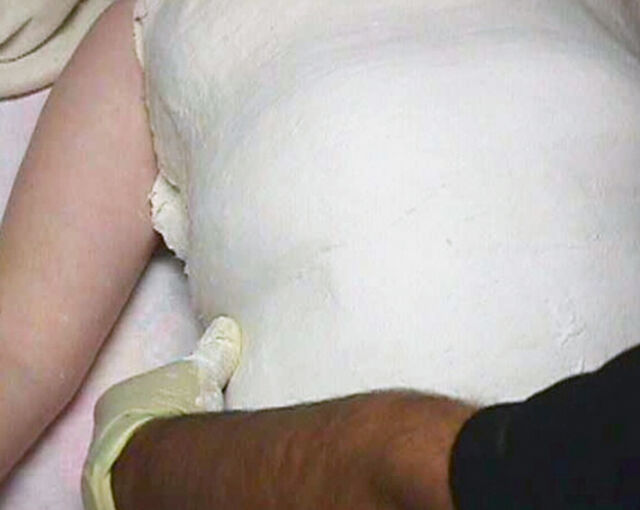
Step 4.
• Massage plaster until smooth
• Mold in slightly above iliac crest and below 12th rib - (waist)
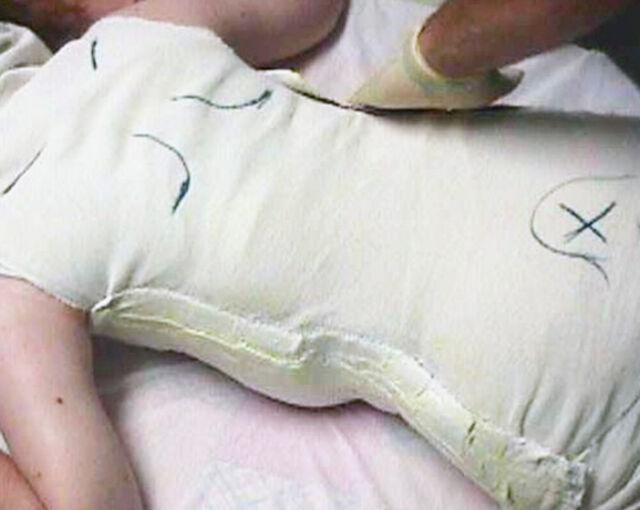
Step 5.
• After anterior hardens roll patient to prone position with anterior cast in place
• Use parting agent (soap) laterally so posterior half doesn’t adhere to anterior
• Mark landmarks coccyx, inferior angle of scapula
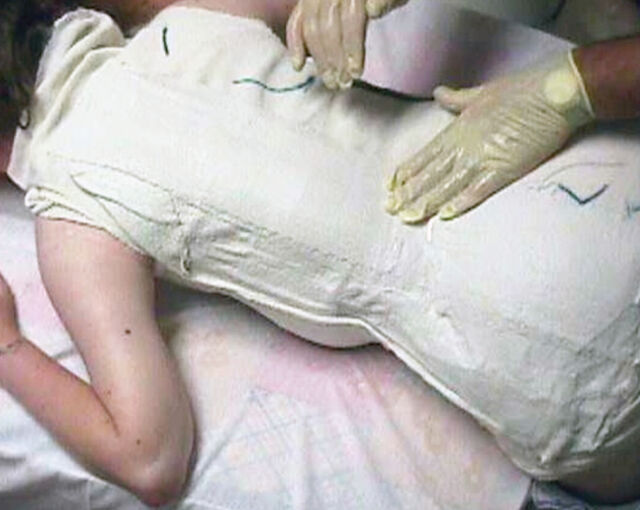
Step 6.
• Use 3 ply plaster splints starting laterally, overlapping anterior section
• Cover landmarks
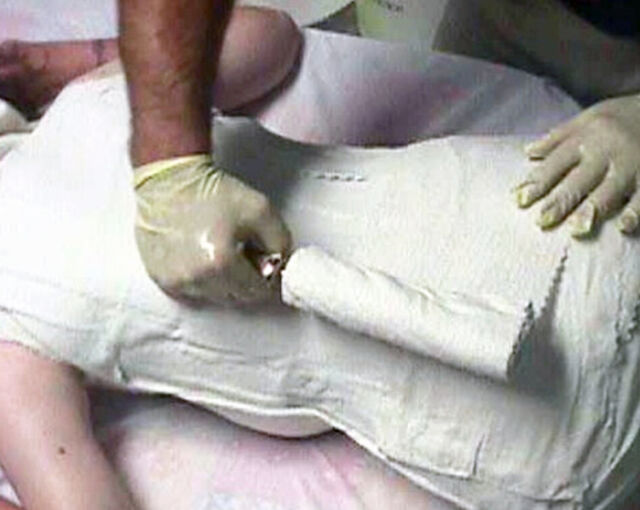
Step 7.
• Lock splints together with plaster roll applied horizontally
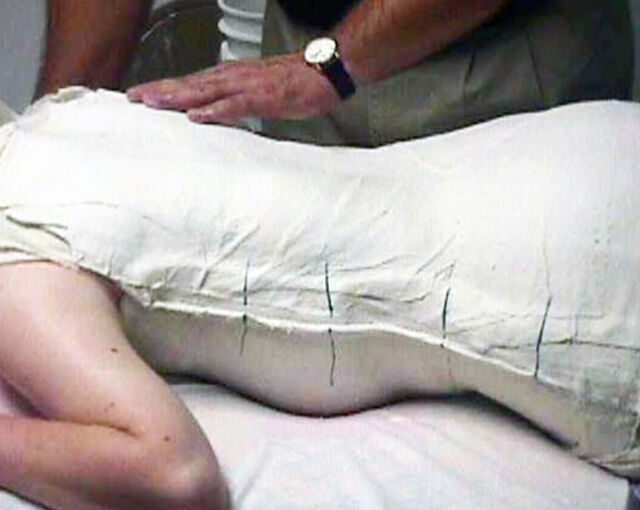
Step 8.
• Let plaster harden
• Separate posterior section from anterior
• Roll patient, take off anterior section
One Piece Plaster/Fiberglass/Synthetic Casting
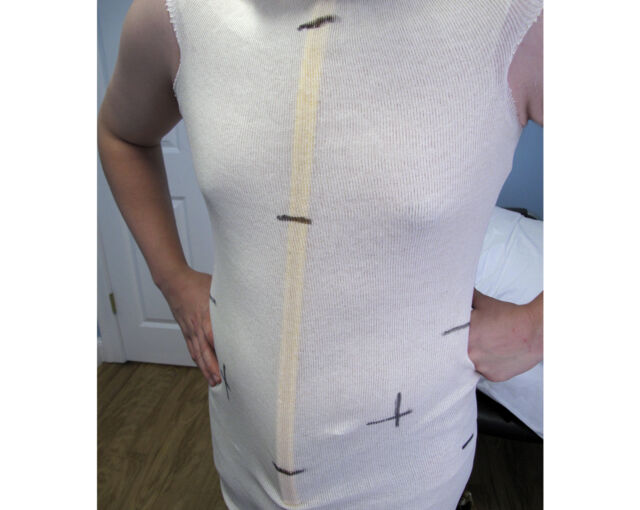
Step 1.
• Apply tight tube stockinette with cut strip anteriorly
• Mark ASIS, Coastal Margin, Illiac Crest, Trochanters, Sternal Notch with indelible marker
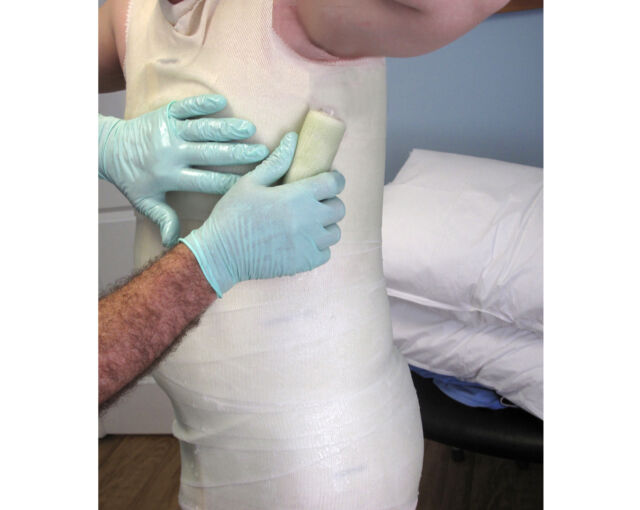
Step 2.
• Apply synthetic wrapping
• Cover all boney landmarks
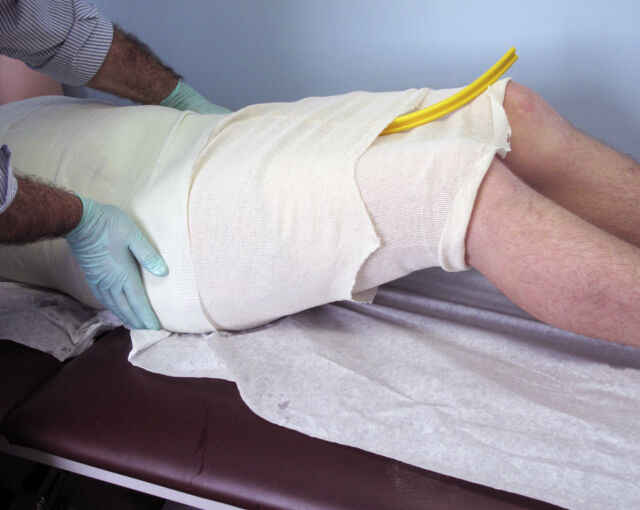
Step 3.
• While wrap is drying, lay patient down on back with hips flexed slightly to reduce lordosis
• Let wrap harden
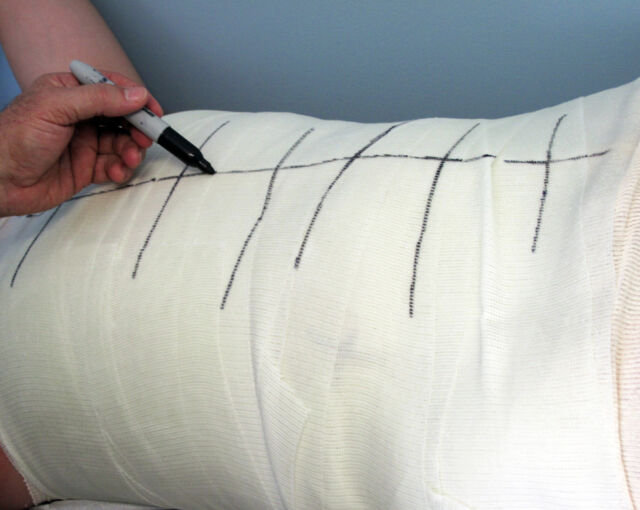
Step 4.
• Mark key lines horizontally across cut strip
• Cut wrap on cut strip
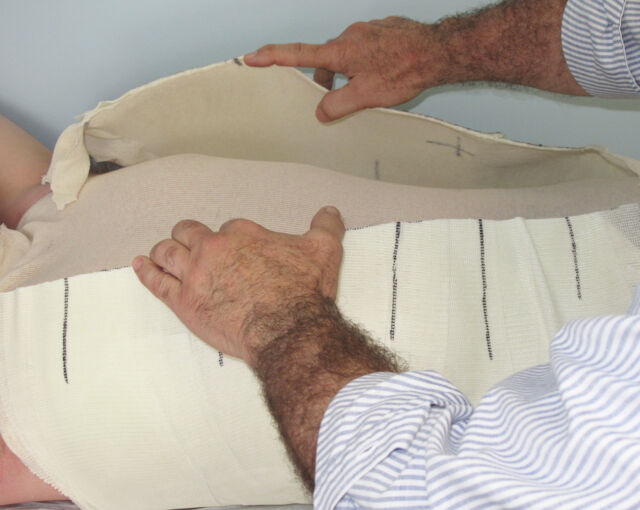
Step 5.
• Remove cast carefully, minimizing distortion
